Composting 101 Resource Handout
Composting Frequently Asked Questions
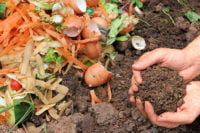
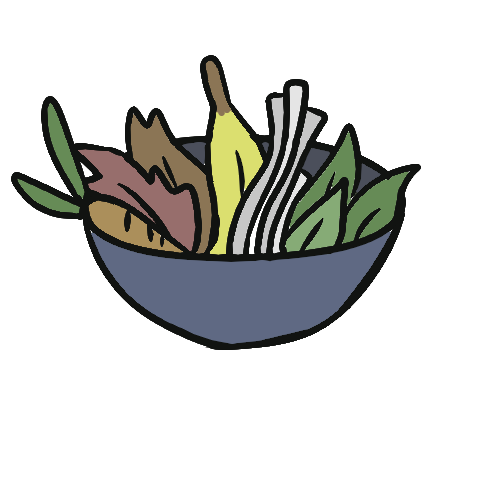
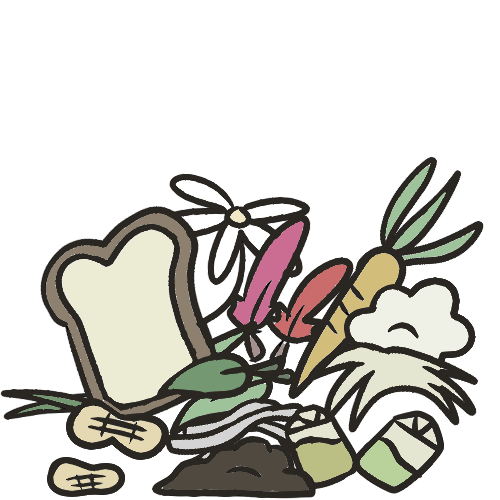
Composting involves the biological decomposition or breakdown of organic material into a dark, soil-like, nutrient dense material. Any organic material in nature will decompose by itself. Composting is simply a way of letting this process take place in various systems in the backyard or in your home.
Why Compost?
Composting as Waste Reduction
Compost is good for the garden and helps put back what we take away from the soil. As important, it diverts waste from going our landfills.

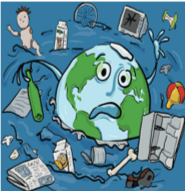
Did you know that Canada sends 510 kilograms of waste per capita to over 10,000 landfill sites across the country? According to Sensonseo Global Waste Index 2019, Canada ranks fourth among the OECD countries. We cannot continue to build new landfills and dump our garbage without consequence. Landfills can be sources of pollution, leaking fluid wastes into the soil and groundwater and emitting noxious gases into the air. It is essential we try to reduce the amount of waste that goes into our landfills. Recycling is one way, composting is another. Approximately 40% of household waste in Ontario consists of yard material or food waste and is compostable. Therefore, backyard or indoor composting can make a significant difference in the amount of waste we send to landfill sites.
Compost Builds Healthy Soil
- Compost prevents erosion. Compost absorbs and holds water well, making the soil more resistant to erosion by heavy rainfall.
- Compost prevents plant dehydration. Compost stores water as a film on small soil crumbs called aggregates. During prolonged rainless periods, plants can survive on the water stored in this way.
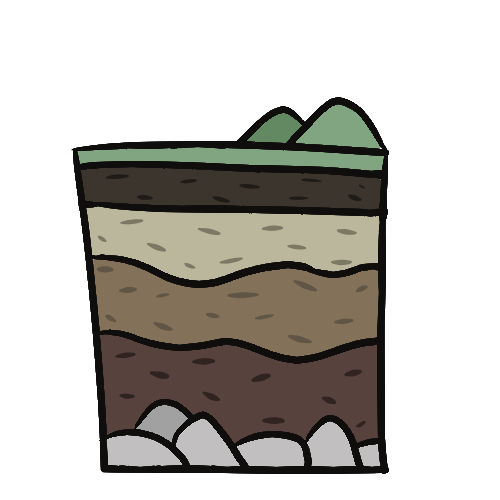
- Compost improves soil structure and extends the growing season. Compost will loosen heavy clay soils so that they absorb water and circulate air more easily. Sandy soils are bound by compost particles, increasing moisture, and nutrient content.
- Compost provides nutrients for plants. Compost is rich in a wide range of nutrients, unlike commercial fertilizers, which usually only provide a few isolated elements. The nutrients are released from compost slowly, consistent with the rate of nutrient uptake by plants. Commercial fertilizers deliver their nutrients all at once, which means that plants can only absorb a small amount before the excess gets washed away.
- Compost stores minerals. Positively charged elements such as potassium, sodium, calcium magnesium, iron, and copper are held by negatively charged particles of compost called colloids. Minerals are easily dissolved and washed away in soils that are low in compost.
- Compost neutralizes in the soil. The organic acids in compost form stable complex elements such as with aluminum and lead, leaving the toxins unavailable for plant uptake
Outdoor Composting
Choosing a Composter: Outdoor and Indoor Units
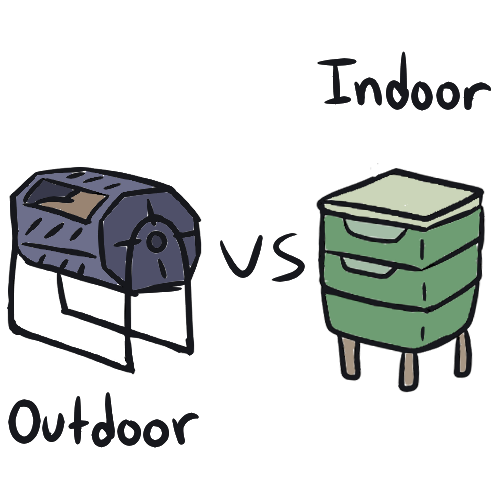
The first choice to make when you consider getting a composter is whether you want an indoor or an outdoor composting unit. Indoor composting uses worms to process kitchen waste in a closed container. The smaller size of indoor units makes them unsuitable for processing yard wastes. Indoor units are active throughout the year. Outdoor or backyard composting units are larger and can be used to compost leaves, grass clippings, and other yard materials as well as kitchen wastes. In outdoor units, while the composting process will slow significantly during the winter, composting of kitchen organics can continue year-round.
Outdoor (Backyard) Composters
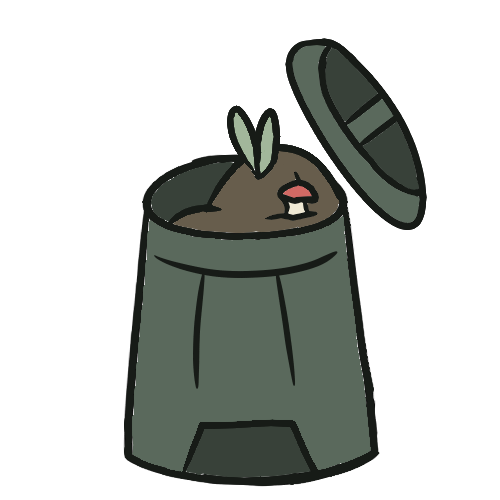
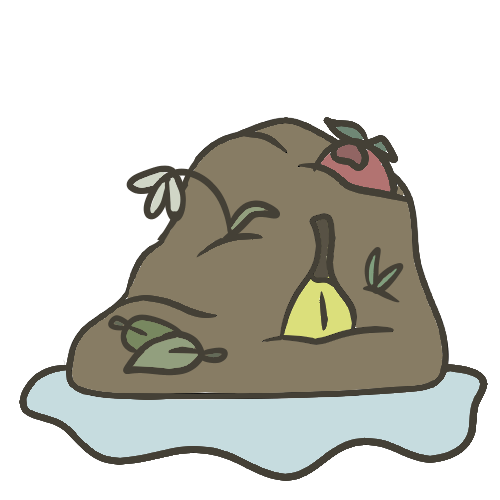
An outdoor composting unit is called a holding unit because it stores kitchen and yard waste in an organized way until these materials break down. Other holding units include perforated garbage cans, wood or wire bins and cinder block bins. The building plans for all these composters are available from TREA.
Holding units are slow producers of compost, but they are also the easiest way to compost. The finished compost is harvested from the bottom of the unit, while new materials are added at the top continuously. The alternative method is to use a turning unit, in which compost is mixed regularly to aerate the organic material. Although this method is more labour intensive, it reduces the duration of the composting process to only two months or less.
Compost Pile Construction
- Start with a 10 cm to 15 cm (4″ to 6″) layer of carbon-rich material such as leaves or shredded newspaper.
- Then add a layer of nitrogen-rich material of equal weight. For example, kitchen scraps or grass clippings. You may want to cover them with an additional thin layer of soil, sawdust, dried leaves, or straw to absorb odours and discourage fruit flies. If you use grass-clippings, which are very high in nitrogen, the layer should be no thicker than 10 cm.
- If the layers are very dense, you should add some dry, bulky materials (ie. shredded, fallen leaves) to increase the air flow inside the pile.
- Mix the pile materials.
Your compost pile is now active, and you can continue to add kitchen and yard wastes in the appropriate brown: green ratio, or carbon: nitrogen ratio. Adding green and brown materials in equal amounts by weight will ensure roughly the right proportion.
Getting the Backyard Composter Started
Where to Compost
When you have built or purchased your backyard composter, the next step is to find an appropriate location. The composter should be sheltered from high winds that may cool the pile. Successful composting can occur under a wide range of temperatures. While sun exposure can increase composting rates, it can also cause overheating that will kill many beneficial soil organisms. Shade composting is slower, but the microbial action during decomposition releases significant heat that helps sustain ongoing activity. Good drainage is very important.
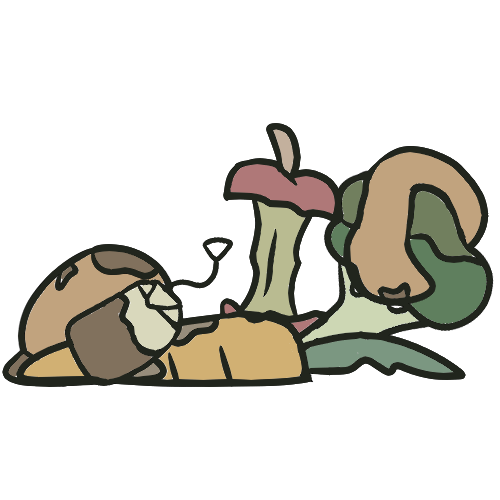
What to Compost – Carbon to Nitrogen Ratios
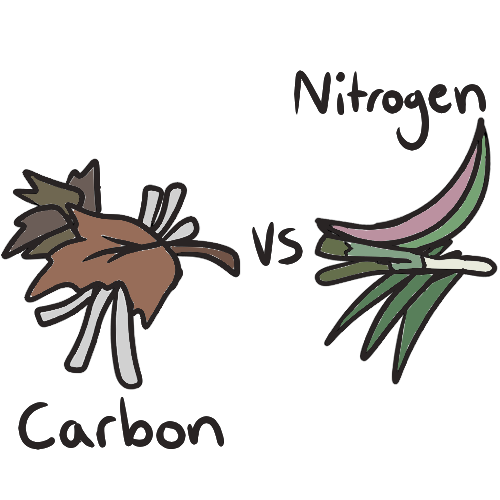
Compostable materials are usually divided into two groups. Carbon-rich materials or “browns” include dried leaves, straw, shredded newspaper, and wood chips. Nitrogen-rich materials, also called “greens”, include grass clippings and most kitchen wastes. Compost piles require the right combination of these two groups of waste. The relative carbon and nitrogen content of a particular material is indicated by the carbon-to-nitrogen (C:N) ratio. An ideal C:N ratio for most soil microorganisms ranges from 15:1 to 30:1. The best way to learn to balance the C:N ratio is to be specific about it for a while and then relax into an intuitive assessment of what the pile needs. A useful guideline at first is that using equal amounts of carbon-rich and nitrogen-rich material by weight will give you approximately the right ratio.
Using Compost
- Before planting, dig the compost into the soil of your garden.
- Use the compost as a mulch layer around shrubs or trees.
- Spread the compost over the soil of established vegetables or flower garden.
- Make compost tea by placing the compost in a burlap bag and inserting the bag in a barrel of water within about a week, the nutrient-rich “tea” can be used to water the garden.
- Use as a lawn top dressing covering with a ¼ inch of compost.
- Use as a planting mixture for gardens, houseplants, and planter boxes.
Maintaining the Backyard Compost Pile
You need to observe the conditions of the compost pile to compost efficiently:
- Make sure that the compost is always as damp as a wrung-out sponge. You can add water if the pile is dry, and add dry materials, such as dead leaves or shredded newspaper if the pile is too wet.
- The pile should be loose and porous to provide the bacteria inside with the oxygen they need. Do not let materials clump together. You can aerate by mixing the pile with a shovel, pitchfork, or special aerating tool.
Preparing the Material
Compostable materials will decompose faster when their surface area to volume ratio is increased. It means that you should only try to compost small scraps of material. Shred leaves before you add them to the pile (using a lawnmower works well). Cut kitchen waste into small pieces. Shred wood and newspaper before adding them to the compost. Smaller particles also allow more air to circulate in the pile.
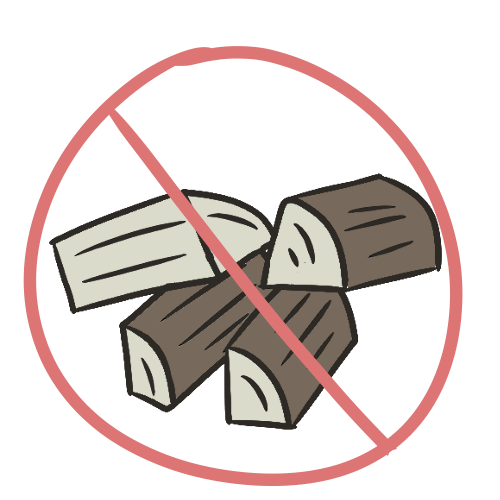
Why Some Organic Materials Should Not Be Composted
The materials in the DO NOT COMPOST list are organic and will eventually break down just like the materials recommmended for composting. However, meat and bones will attract animals to the compost pile. Oils putrefy and have a similar effect. Cat or dog manure can contain harmful pathogens that may survive the composting process. Finally, certain plants such as crab grass or weeds that have gone to seed can survive the composting process and overtake other plants when you use the finished compost in the garden.
| Do Compost | Do Not Compost | |
| Greens | Browns | |
| Fruit or fruit peels/Nutshells Vegetable scraps Fresh grass clippings (small amounts) Grains/Pasta/Bread Coffee grounds/Filters Feathers/Hair Flowers/Green leaves Garden wastes Aged manure Tea bags/Crushed egg shells | Sawdust Grass clippings (dried) Paper (shredded) Corn stalks Straw Leaves (dried) Hardwood ash Wood chips (untreated) | Dairy products Diseased plants Pet wastes Woody yard waste Fish scraps Meat, bones or fat Oils Weed heads gone to seed Crab grass |
Troubleshooting – What to Do When the Compost Pile…
- Smells bad? There are too many fruit and vegetable scraps, not enough
 air, or the material is too wet. Aerate the pile and add dry soil, leaves, or shredded newspaper to absorb moisture. Coffee grounds can
deodorize the compost pile. - Is dry and will not heat up? Add water to dampen the material.
- Is wet and will not heat up? There is not enough nitrogen in the pile. Add nitrogen-rich materials, such as kitchen scraps or grass clippings.
- Attracts fruit flies and wasps? Kitchen scraps have been left uncovered. Cover the scraps with a layer of dirt or leaves.
- Attracts animal pests? Cooked food or meat wastes have been added. Try to avoid adding these items, and make the container inaccessible to animals.


ALSO – What Organisms Are Living in My Compost?
Compost is rich in tiny beneficial organisms that all play a part in creating nutritious compost. Nematodes and many protozoa primarily help with cycling the nutrients while bacteria and fungi break down the organic matter into a soil-like material.
Vermicomposting
Indoor (Worm) Composting
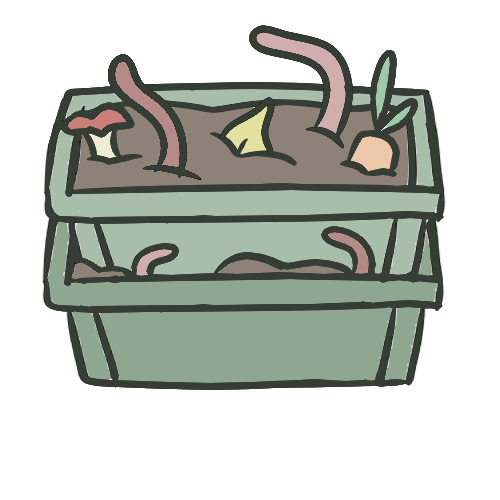
Indoor composting is done with worms and is also called vermicomposting. It is an easy and efficient way to compost organic wastes in an apartment, house, office, or school classroom. Vermicomposting takes place in an enclosed container.
To build your own, the container should be perforated to allow air in. Drainage holes are required in the bottom and air vents in the sides to maintain the right moisture and air levels. The dimensions of the container will depend on the amount of waste you need to process. The surface area is more important than depth. You will need approximately 30 cm (one square foot) of surface area for every pound of food waste to be composted per week.


The worms used for vermicomposting are called red wigglers. These worms are not found outdoors as they live in temperatures between 15 and 25 degrees Celsius. They are efficient processors of food waste and other organic materials, producing dark and fertile compost. The worms reproduce quickly. If you know someone with an active vermicomposter, they will probably have enough worms to give you a “starter” amount. Otherwise, the worms can be ordered with the vermicomposter unit or sold separately. Contact TREA for businesses that offer vermicomposting.
You can compost all of the kitchen wastes listed in the DO COMPOST list in your vermicomposter. Yard materials, because of their volume, are unsuitable for this composting method.
Getting your Vermicomposter Started
- The ideal bedding for the worms is shredded newspapers. There should be enough newspapers to fill 2/3 of the container. Soak the bedding in water and place it in the vermicomposter.
- Add the worms. Leave the lid off the composter for about an hour. The worms are sensitive to light and will burrow into the bedding when the lid is off.
- You can now add kitchen wastes to the bin. Dig a small hole in the bedding, add the waste, and cover the hole. You may want to mark the spot with a twig, or a popsicle stick or other marker so that you can add the next day’s waste in a different spot.
- The most important part of vermicomposter maintenance is keeping moisture levels the same as a wet sponge. Add water or wet wastes if the material becomes dry. Add more shredded newspaper if the bedding is too wet.
Harvesting from the Vermicomposter

It will take between 3 and 6 months for the bedding and waste in the composter to turn into finished compost. When the compost is ready, it will be a dark, uniform material with an earthy smell. You can harvest the compost in two ways:
- The slow way to harvest the compost is to move the bin contents to one side and add fresh bedding to the other. After about one month, the worms will occupy only the fresh bedding, and you can then remove the compost.
- The quick way to harvest the compost is to open the bin under a bright light. The worms will retract into the compost so that you can remove the upper layer of the material. Continue until only a thin layer with the worms in the bin remains. You can then add fresh bedding and start over.
LASTLY – How Does Composting Contribute to the Big Picture?

Organic matter in landfills is often broken down by microorganisms that
release methane, a greenhouse gas that is 84 times more potent than carbon dioxide. However, the process of composting avoids these microorganisms and is instead broken down by harmless microorganisms that produce little to no methane.
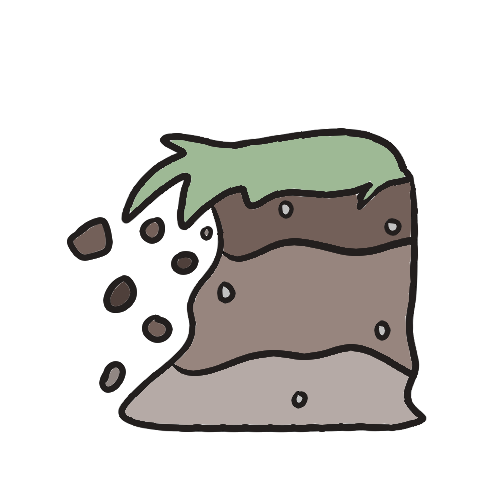
How Does Composting Prevent Soil Loss?
Every year, the earth loses approximately 100 gigatons of fertile topsoil, however, compost is rich in nutrients so it can help to restore this layer of topsoil.
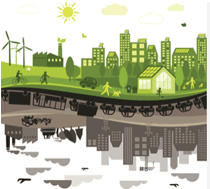
Looking Towards a Zero-Waste Future
Source reduction is waste prevention. We are creative – we can cut back on waste by conserving resources, which in turn can reduce the cost of municipal recycling, composting, and landfilling programs for everyone. Most importantly, we can cut back on unnecessary packaging for many things we use like laundry soap, pet food, shampoo, and various household items – the list is endless. We can plan to use non-hazardous materials in our home by bringing baking soda, vinegar, and borax into our cleaning regime.
We can also declutter the stuff we already have. It can be a cathartic experience and rewarding to donate items we don’t use anymore to a charity to resell them, take clothes we don’t wear anymore to a consignment shop, recycle a ladder or lawnmower to a friend who can use it, even to bring in an organizer to help us part with things we don’t use anymore be it sporting equipment, appliances, computer equipment and so on. There is a lot we can improve on – we can seek repairs for unused items, mend clothes, borrow/rent and share instead of purchasing items we hardly ever use, let grass clippings decompose on the lawn to return nutrients to the soil, we can do this!
To take our Challenge visit https://www.trea.ca/waste-free/
We also encourage you to visit TREA’s online Green Directory which goes into much more detail on what you may be interested to know about local, provincial and federal activities and listings of resource folks and local shops to follow up with more informed decisions. And finally, TREA also has an outdoor composter/groundcover demonstration site and a pollinator garden to check out too.
What Else Do We Need To Know
The City Has a 60% Waste Diversion Action Plan. Find out more information here: https://getinvolved.london.ca/WhyWasteResource
In London, more than one tonne of waste is produced per person per year, which includes waste generated at home and by businesses. Municipal Council passed a 60% Waste Diversion Action Plan in the fall of 2018 to achieve a 60% waste diversion of residential waste by the end of 2022 from the current rate of 45%. Funding was approved in March 2020. This is a standalone plan and part of a larger long-term Resource Recovery Strategy in planning for the future as London’s landfill is expected to reach capacity by 2024. The Action Plan includes the introduction of a residential curbside green bin program and increasing the number of items that can be recycled such as furniture and textiles. Given the Covid-19 challenges to all Londoners, businesses and municipal government, delays are expected. The City expects that by carrying out this plan, there will be a significant reduction in greenhouse gas emissions, new job opportunities, more sustainable use of resources and further waste reduction in the future.
Ontario Cosmetic Pesticide Ban
Ontario’s ban came into effect on April 22, 2009, which supersedes the City’s Pesticide By-law from 2006, and any other municipal pesticide by-law. There are five different pesticide classes: Class A (manufacturing), Class B (restricted), Class C (commercial), Class D (domestic), and Class E (treated seeds).
Pesticides cannot be used for cosmetic purposes on lawns, vegetable, and ornamental gardens, patios, driveways, cemeteries, in parks, and schoolyards. It includes pesticides that contain certain ingredients, including 2,4-D, diazinon, and glyphosate. There are exemptions for agriculture, forestry, the promotion of public health and safety, golf courses (if prescribed conditions are met), and other prescribed uses, and they do not apply to areas pedestrians use regularly.
Reimagine Co 
Reimagine Co’s zero-waste store and community hub has been an amazing demonstration of community programs and activities helping Londoners to stop use of single-use plastics, discuss zero-waste behaviours, deliver Repair Café nights to fix and repair items, and be at the forefront of all things that eliminate waste.

Contact: TREA
Address: 1017 Western Rd, London, ON, N6G 1G5
Phone: 519 645 2845 Fax: 519 645 0981
Email: info@trea.ca Website: www.trea.ca
Facebook: /trealondon/